A Complete Guide to Google Play In-App Purchases and Subscriptions Implementation

Maria
Feb 25, 2021
Global consumer spending on android apps grew 33% year-over-year in Q3 2020 and reached $10B according to the Sensor Tower report.


In-app purchases including in-app subscriptions are the major way to monetize mobile apps that provide digital services. This article is a comprehensive guide on adding in-app purchases to an Android app from scratch using Google Play’s billing system which allows you to sell digital products.

Main terms
In-app products types
There are two types of digital products:
1. Recurring Subscription. In-app product with recurring billing period:
Weekly;
Monthly (1, 3, and 6 months);
Annually.
Users have to pay every billing period to continue using the premium (full) functionality of the application. Subscriptions renew automatically until they’re canceled. You can configure the following subscription options:
Free trial. This allows users to try the features before paying for them. Trial duration should be anywhere from 3 to 999 days.
Introductory price. Give new subscribers a discount for a certain time.
Grace period. Provide users time to solve payment issues and keep the subscription active. You can find out more about subscription statuses here.
Resubscribe option. Let users resubscribe from the Play Store after a subscription cancellation.


You may want to win users back after subscription expiration in your android app and offer them a product ID with a discount, free trial, or intro price. The identifier of such product is called a win-back SKU.
Examples of subscriptions: movie streaming service.
2. One-time products. Non-recurring charge to a payment method. Google Play Billing supports two types of one-time products:
A non-consumable product is a product that once purchased can no longer be purchased. It is permanently associated with the user’s Google Play account. Example of non-consumable products: premium race tracks in the game.
A consumable product is one that can be repurchased. It is temporarily associated with the user’s Google Play account. Example of consumable products: in-game coins.
Google Play’s billing system under the hood


Let’s look at the interaction between the client (the app with Android Billing Library) and the server. When a user initiates any transaction related to Google Play Billing Library it usually ends up communicating with the Google Play app to deal with the Google Play Server. You also need communication between your Backend Server and Google Play Developer API. Your Backend Server is responsible for typical use cases such as payment verification or getting notifications from the Google Play Developer API when a user cancels a subscription.
You need to verify purchases for several reasons. One of them is preventing hacking your app and faking successful purchase. You need to be sure that whatever you get back from Google Play is valid before you enable premium access in your app.
Getting ready
Before you can sell products in your app you have to follow the steps below.
1. Create a developer account. Google provides detailed documentation on that.
2. Create and set up your app. Once you have created a Google Play developer account, you can create apps and configure them using the Google Play Console. After creating an application, you can start configuring it. The app’s dashboard guides you through all steps to make it available on Google Play.
3. Add the dependency to your app’s build.gradle file as below:
dependencies { implementation "com.android.billingclient:billing:3.0.2"Before proceeding further, you have to publish your signed Android application in the Google Play Console. You have to publish your app in either production, alpha, or beta channels. While your app is in review and is not published your in-app purchases won’t work.
4. Setting Up the Testing Environment. You are able to Configure license testing for the Developer account in the Google Play Console. Application licensing allows you to set up a list of Gmail accounts to test your in-app purchases. You don’t have to add a publishing account here because it is considered a licensed tester by default.
Implementation
While you are waiting for the app to be reviewed, let’s add Google Play Android Billing Library to the app.
1. BillingClient instance
All interactions with the Google Billing library system happen within MainActivity class for the sake of simplicity in our example. It’s better to use a separate class for interactions with the BillingClient in the real app in order to keep the business logic independent from UI and make it testable. BillingClient provides the interface to interact with the Billing Library.
MainActivity implements two interfaces: PurchasesUpdatedListener and BillingClientStateListener.
class MainActivity : AppCompatActivity(), PurchasesUpdatedListener, BillingClientStateListener {
   private lateinit var billingClient: BillingClient
   private val skusWithSkuDetails = mutableMapOf<String, SkuDetails
Use newBuilder() in order to create an instance of BillingClient. Set a PurchaseUpdateListener which is called by the Billing Library when new purchases are detected. The onPurchasesUpdated function implementation will be presented later in the text.
class MainActivity : AppCompatActivity(), PurchasesUpdatedListener, BillingClientStateListener {
   private lateinit var billingClient: BillingClient
   private val skusWithSkuDetails = mutableMapOf<String, SkuDetails
2. Establish a connection
Establish a connection by calling startConnection() and pass an instance of BillingClientStateListener as a parameter. The onBillingSetupFinished() method will be triggered when the connection is successful. After that, you can get available in-app products to make a purchase and get purchases from the billing cache. You will have to restart the connection when onBillingServiceDisconnected() is called.
private fun connectToBillingService() {
   if (!billingClient.isReady) {
       billingClient.startConnection(this)
   }
}

override fun onBillingSetupFinished(billingResult: BillingResult) {
   if (billingResult.responseCode == BillingClient.BillingResponseCode.OK) {
      // The billing client is ready. Retrieve in-app products and subscriptions details
      querySkuDetailsAsync(BillingClient.SkuType.INAPP, INAPP_SKUS)
      querySkuDetailsAsync(BillingClient.SkuType.SUBS, SUBS_SKUS)

      // Refresh your application access based on the billing cache
      queryPurchases()
   }
}

override fun onBillingServiceDisconnected() {
   connectToBillingService
There are product IDs that were set in the Google Play Console.
private object GameSku {
   const val WEEKLY = "weekly"
   const val ANNUAL = "annual"
   const val COIN = "coin"
   const val RACE_TRACK = "race_trake"

   val INAPP_SKUS = listOf(COIN, RACE_TRACK)
   val SUBS_SKUS = listOf(WEEKLY, ANNUAL)
   val CONSUMABLE_SKUS = listOf(COIN
3. Retrieve products, subscriptions, prices, etc
Once BillingClient is ready you can query for the SkuDetails of the products from the Google Play Console. BillingClient refers to in-app products as ‘INAPP’, and as ‘SUBS’ to subscriptions.
private fun querySkuDetailsAsync(
   @BillingClient.SkuType skuType: String,
   skuList: List<String>
) {
   val params = SkuDetailsParams
       .newBuilder()
       .setSkusList(skuList)
       .setType(skuType)
       .build()

   billingClient.querySkuDetailsAsync(
       params
   ) { billingResult, skuDetailsList ->
       if (billingResult.responseCode == BillingClient.BillingResponseCode.OK && skuDetailsList != null) {
           for (details in skuDetailsList) {
               skusWithSkuDetails[details.sku] = details
We get the success response code most of the time from Google Billing API, but keep in mind there are other 11 responses from billing that you need to handle.
4. Check previous purchases
Retrieves all active purchases and non-consumable in-app products of the user.
private fun queryPurchases() {
   val purchasesResult = HashSet<Purchase>()
   var result = billingClient.queryPurchases(BillingClient.SkuType.INAPP)
   result.purchasesList?.apply { purchasesResult.addAll(this) }

   result = billingClient.queryPurchases(BillingClient.SkuType.SUBS)
   result.purchasesList?.apply { purchasesResult.addAll(this) }

   processPurchases(purchasesResult
The processPurchases function implementation will be presented later in the text.
5. Buy products
Initiate a billing flow by calling launchBillingFlow() and pass an instance of BillingFlowParams as a parameter.
private fun purchase(skuDetails: SkuDetails) {
   val params = BillingFlowParams.newBuilder()
       .setSkuDetails(skuDetails)
       .build()

   billingClient.launchBillingFlow(this, params)
       .takeIf { billingResult -> billingResult.responseCode != BillingClient.BillingResponseCode.OK }
       ?.let { billingResult ->
           Log.e("BillingClient", "Failed to launch billing flow $billingResult"
After the user makes a purchase, you will receive a response in the onPurchasesUpdated() function.
override fun onPurchasesUpdated(
   billingResult: BillingResult,
   purchases: MutableList<Purchase>?
) {
   when (billingResult.responseCode) {
       BillingClient.BillingResponseCode.OK -> {
           purchases?.apply { processPurchases(this.toSet()) }
       }
       BillingClient.BillingResponseCode.ITEM_ALREADY_OWNED -> {
           // call queryPurchases to verify and process all owned items
           queryPurchases()
       }
       BillingClient.BillingResponseCode.SERVICE_DISCONNECTED -> {
           connectToBillingService()
       }
       else -> {
           Log.e("BillingClient", "Failed to onPurchasesUpdated"
6. Processing purchases: Consume and Acknowledge purchases
A purchase will be refunded if you don’t acknowledge it within three days. To confirm a purchase, first check that the purchase state is PURCHASED, not PENDING. Before granting entitlements to the user and acknowledging the purchase, verify it on the server: make sure the purchase token is valid. For one-time products call the consumeAsync() method. For non-consumable in-app products and subscriptions use the acknowledgePurchase() method.
private fun processPurchases(purchases: Set<Purchase>) {
   purchases.forEach { purchase ->
       if (purchase.purchaseState == Purchase.PurchaseState.PURCHASED) {
	       // Implement server verification
           // If purchase token is OK, then unlock user access to the content
           acknowledgePurchase(purchase
The example uses the following check if (isSkuConsumable(purchase.sku)) to determine which method should be called: consume or acknowledge. You must validate consumable purchases according to the logic of your application.
private fun acknowledgePurchase(purchase: Purchase) {
   val skuDetails = skusWithSkuDetails[purchase.sku] ?: run {
       Log.e("BillingClient", "Could not find SkuDetails to acknowledge purchase")
       return
   }
    if (isSkuConsumable(purchase.sku)) {
       consume(purchase.purchaseToken)
    } else if (skuDetails.type == BillingClient.SkuType.SUBS && !purchase.isAcknowledged) {
       acknowledge(purchase.purchaseToken)
    }
}

private fun isSkuConsumable(sku: String) = CONSUMABLE_SKUS.contains(sku)


private fun consume(purchaseToken: String) {
   val params = ConsumeParams.newBuilder()
       .setPurchaseToken(purchaseToken)
       .build()

   billingClient.consumeAsync(
       params
   ) { billingResult, token ->
       when (billingResult.responseCode) {
           BillingClient.BillingResponseCode.OK -> {
               entitleUserProducts()
           }
           else -> {
               Log.e("BillingClient", "Failed to consume purchase $billingResult")
           }
       }
   }
}

private fun acknowledge(purchaseToken: String) {
   val acknowledgePurchaseParams = AcknowledgePurchaseParams.newBuilder()
       .setPurchaseToken(purchaseToken)
       .build()

   billingClient.acknowledgePurchase(
       acknowledgePurchaseParams
   ) { billingResult ->
       when (billingResult.responseCode) {
           BillingClient.BillingResponseCode.OK -> {
               entitleUserProducts()
           }
           else -> {
               Log.e("BillingClient", "Failed to acknowledge purchase $billingResult"
7. Grant user entitlements to the app content
Finally, unlock user access to the application content. Launch the app, buy an in-app product and make sure everything is working correctly.
You can read about setting up test devices in our guide Android test devices.
8. Google Play Billing Library 4.0.0
If you are planning to migrate to Google Play Billing Library version 4, please read this guide.
Using Qonversion
Qonversion makes the implementation of Google Play’s billing system simple. It provides the back-end infrastructure to validate user receipts and manage cross-platform user access to paid content on your app, so you do not need to build your own server.
Qonversion allows you to create products, identify and associate them with in-app products from the Google Play Console. Then you can create permissions that provide access to the premium features in your app.
To make a purchase call the Qonversion.purchase() method as shown below. Upon successful purchase, you will receive a response in the onSuccess callback with permissions. Otherwise, onError with the detailed error description.
Qonversion.purchase(
   this,
   productId,
   object : QonversionPermissionsCallback {
       override fun onSuccess(permissions: Map<String, QPermission>) {
           // Grant user entitlements to the app content
       }

       override fun onError(error: QonversionError) {
	       // Handle the error
Whenever you want to get the last subscription status and manage user access to the premium content call the Qonversion.checkPermissions() method.
Qonversion.checkPermissions(object : QonversionPermissionsCallback {
   override fun onSuccess(permissions: Map<String, QPermission>) {
         // Grant entitlement to the user
   }

   override fun onError(error: QonversionError) {
         // Handle the error
Read more about Qonversion features here.
A Complete Guide to Google Play In-App Purchases and Subscriptions Implementation
Maria
Feb 25, 2021
Global consumer spending on android apps grew 33% year-over-year in Q3 2020 and reached $10B according to the Sensor Tower report.
In-app purchases including in-app subscriptions are the major way to monetize mobile apps that provide digital services. This article is a comprehensive guide on adding in-app purchases to an Android app from scratch using Google Play’s billing system which allows you to sell digital products.
Main terms
In-app products types
There are two types of digital products:
1. Recurring Subscription. In-app product with recurring billing period:
Weekly;
Monthly (1, 3, and 6 months);
Annually.
Users have to pay every billing period to continue using the premium (full) functionality of the application. Subscriptions renew automatically until they’re canceled. You can configure the following subscription options:
Free trial. This allows users to try the features before paying for them. Trial duration should be anywhere from 3 to 999 days.
Introductory price. Give new subscribers a discount for a certain time.
Grace period. Provide users time to solve payment issues and keep the subscription active. You can find out more about subscription statuses here.
Resubscribe option. Let users resubscribe from the Play Store after a subscription cancellation.
You may want to win users back after subscription expiration in your android app and offer them a product ID with a discount, free trial, or intro price. The identifier of such product is called a win-back SKU.
Examples of subscriptions: movie streaming service.
2. One-time products. Non-recurring charge to a payment method. Google Play Billing supports two types of one-time products:
A non-consumable product is a product that once purchased can no longer be purchased. It is permanently associated with the user’s Google Play account. Example of non-consumable products: premium race tracks in the game.
A consumable product is one that can be repurchased. It is temporarily associated with the user’s Google Play account. Example of consumable products: in-game coins.
Google Play’s billing system under the hood
Let’s look at the interaction between the client (the app with Android Billing Library) and the server. When a user initiates any transaction related to Google Play Billing Library it usually ends up communicating with the Google Play app to deal with the Google Play Server. You also need communication between your Backend Server and Google Play Developer API. Your Backend Server is responsible for typical use cases such as payment verification or getting notifications from the Google Play Developer API when a user cancels a subscription.
You need to verify purchases for several reasons. One of them is preventing hacking your app and faking successful purchase. You need to be sure that whatever you get back from Google Play is valid before you enable premium access in your app.
Getting ready
Before you can sell products in your app you have to follow the steps below.
1. Create a developer account. Google provides detailed documentation on that.
2. Create and set up your app. Once you have created a Google Play developer account, you can create apps and configure them using the Google Play Console. After creating an application, you can start configuring it. The app’s dashboard guides you through all steps to make it available on Google Play.
3. Add the dependency to your app’s build.gradle file as below:
dependencies { implementation "com.android.billingclient:billing:3.0.2"Before proceeding further, you have to publish your signed Android application in the Google Play Console. You have to publish your app in either production, alpha, or beta channels. While your app is in review and is not published your in-app purchases won’t work.
4. Setting Up the Testing Environment. You are able to Configure license testing for the Developer account in the Google Play Console. Application licensing allows you to set up a list of Gmail accounts to test your in-app purchases. You don’t have to add a publishing account here because it is considered a licensed tester by default.
Implementation
While you are waiting for the app to be reviewed, let’s add Google Play Android Billing Library to the app.
1. BillingClient instance
All interactions with the Google Billing library system happen within MainActivity class for the sake of simplicity in our example. It’s better to use a separate class for interactions with the BillingClient in the real app in order to keep the business logic independent from UI and make it testable. BillingClient provides the interface to interact with the Billing Library.
MainActivity implements two interfaces: PurchasesUpdatedListener and BillingClientStateListener.
class MainActivity : AppCompatActivity(), PurchasesUpdatedListener, BillingClientStateListener {
   private lateinit var billingClient: BillingClient
   private val skusWithSkuDetails = mutableMapOf<String, SkuDetails
Use newBuilder() in order to create an instance of BillingClient. Set a PurchaseUpdateListener which is called by the Billing Library when new purchases are detected. The onPurchasesUpdated function implementation will be presented later in the text.
class MainActivity : AppCompatActivity(), PurchasesUpdatedListener, BillingClientStateListener {
   private lateinit var billingClient: BillingClient
   private val skusWithSkuDetails = mutableMapOf<String, SkuDetails
2. Establish a connection
Establish a connection by calling startConnection() and pass an instance of BillingClientStateListener as a parameter. The onBillingSetupFinished() method will be triggered when the connection is successful. After that, you can get available in-app products to make a purchase and get purchases from the billing cache. You will have to restart the connection when onBillingServiceDisconnected() is called.
private fun connectToBillingService() {
   if (!billingClient.isReady) {
       billingClient.startConnection(this)
   }
}

override fun onBillingSetupFinished(billingResult: BillingResult) {
   if (billingResult.responseCode == BillingClient.BillingResponseCode.OK) {
      // The billing client is ready. Retrieve in-app products and subscriptions details
      querySkuDetailsAsync(BillingClient.SkuType.INAPP, INAPP_SKUS)
      querySkuDetailsAsync(BillingClient.SkuType.SUBS, SUBS_SKUS)

      // Refresh your application access based on the billing cache
      queryPurchases()
   }
}

override fun onBillingServiceDisconnected() {
   connectToBillingService
There are product IDs that were set in the Google Play Console.
private object GameSku {
   const val WEEKLY = "weekly"
   const val ANNUAL = "annual"
   const val COIN = "coin"
   const val RACE_TRACK = "race_trake"

   val INAPP_SKUS = listOf(COIN, RACE_TRACK)
   val SUBS_SKUS = listOf(WEEKLY, ANNUAL)
   val CONSUMABLE_SKUS = listOf(COIN
3. Retrieve products, subscriptions, prices, etc
Once BillingClient is ready you can query for the SkuDetails of the products from the Google Play Console. BillingClient refers to in-app products as ‘INAPP’, and as ‘SUBS’ to subscriptions.
private fun querySkuDetailsAsync(
   @BillingClient.SkuType skuType: String,
   skuList: List<String>
) {
   val params = SkuDetailsParams
       .newBuilder()
       .setSkusList(skuList)
       .setType(skuType)
       .build()

   billingClient.querySkuDetailsAsync(
       params
   ) { billingResult, skuDetailsList ->
       if (billingResult.responseCode == BillingClient.BillingResponseCode.OK && skuDetailsList != null) {
           for (details in skuDetailsList) {
               skusWithSkuDetails[details.sku] = details
We get the success response code most of the time from Google Billing API, but keep in mind there are other 11 responses from billing that you need to handle.
4. Check previous purchases
Retrieves all active purchases and non-consumable in-app products of the user.
private fun queryPurchases() {
   val purchasesResult = HashSet<Purchase>()
   var result = billingClient.queryPurchases(BillingClient.SkuType.INAPP)
   result.purchasesList?.apply { purchasesResult.addAll(this) }

   result = billingClient.queryPurchases(BillingClient.SkuType.SUBS)
   result.purchasesList?.apply { purchasesResult.addAll(this) }

   processPurchases(purchasesResult
The processPurchases function implementation will be presented later in the text.
5. Buy products
Initiate a billing flow by calling launchBillingFlow() and pass an instance of BillingFlowParams as a parameter.
private fun purchase(skuDetails: SkuDetails) {
   val params = BillingFlowParams.newBuilder()
       .setSkuDetails(skuDetails)
       .build()

   billingClient.launchBillingFlow(this, params)
       .takeIf { billingResult -> billingResult.responseCode != BillingClient.BillingResponseCode.OK }
       ?.let { billingResult ->
           Log.e("BillingClient", "Failed to launch billing flow $billingResult"
After the user makes a purchase, you will receive a response in the onPurchasesUpdated() function.
override fun onPurchasesUpdated(
   billingResult: BillingResult,
   purchases: MutableList<Purchase>?
) {
   when (billingResult.responseCode) {
       BillingClient.BillingResponseCode.OK -> {
           purchases?.apply { processPurchases(this.toSet()) }
       }
       BillingClient.BillingResponseCode.ITEM_ALREADY_OWNED -> {
           // call queryPurchases to verify and process all owned items
           queryPurchases()
       }
       BillingClient.BillingResponseCode.SERVICE_DISCONNECTED -> {
           connectToBillingService()
       }
       else -> {
           Log.e("BillingClient", "Failed to onPurchasesUpdated"
6. Processing purchases: Consume and Acknowledge purchases
A purchase will be refunded if you don’t acknowledge it within three days. To confirm a purchase, first check that the purchase state is PURCHASED, not PENDING. Before granting entitlements to the user and acknowledging the purchase, verify it on the server: make sure the purchase token is valid. For one-time products call the consumeAsync() method. For non-consumable in-app products and subscriptions use the acknowledgePurchase() method.
private fun processPurchases(purchases: Set<Purchase>) {
   purchases.forEach { purchase ->
       if (purchase.purchaseState == Purchase.PurchaseState.PURCHASED) {
	       // Implement server verification
           // If purchase token is OK, then unlock user access to the content
           acknowledgePurchase(purchase
The example uses the following check if (isSkuConsumable(purchase.sku)) to determine which method should be called: consume or acknowledge. You must validate consumable purchases according to the logic of your application.
private fun acknowledgePurchase(purchase: Purchase) {
   val skuDetails = skusWithSkuDetails[purchase.sku] ?: run {
       Log.e("BillingClient", "Could not find SkuDetails to acknowledge purchase")
       return
   }
    if (isSkuConsumable(purchase.sku)) {
       consume(purchase.purchaseToken)
    } else if (skuDetails.type == BillingClient.SkuType.SUBS && !purchase.isAcknowledged) {
       acknowledge(purchase.purchaseToken)
    }
}

private fun isSkuConsumable(sku: String) = CONSUMABLE_SKUS.contains(sku)


private fun consume(purchaseToken: String) {
   val params = ConsumeParams.newBuilder()
       .setPurchaseToken(purchaseToken)
       .build()

   billingClient.consumeAsync(
       params
   ) { billingResult, token ->
       when (billingResult.responseCode) {
           BillingClient.BillingResponseCode.OK -> {
               entitleUserProducts()
           }
           else -> {
               Log.e("BillingClient", "Failed to consume purchase $billingResult")
           }
       }
   }
}

private fun acknowledge(purchaseToken: String) {
   val acknowledgePurchaseParams = AcknowledgePurchaseParams.newBuilder()
       .setPurchaseToken(purchaseToken)
       .build()

   billingClient.acknowledgePurchase(
       acknowledgePurchaseParams
   ) { billingResult ->
       when (billingResult.responseCode) {
           BillingClient.BillingResponseCode.OK -> {
               entitleUserProducts()
           }
           else -> {
               Log.e("BillingClient", "Failed to acknowledge purchase $billingResult"
7. Grant user entitlements to the app content
Finally, unlock user access to the application content. Launch the app, buy an in-app product and make sure everything is working correctly.
You can read about setting up test devices in our guide Android test devices.
8. Google Play Billing Library 4.0.0
If you are planning to migrate to Google Play Billing Library version 4, please read this guide.
Using Qonversion
Qonversion makes the implementation of Google Play’s billing system simple. It provides the back-end infrastructure to validate user receipts and manage cross-platform user access to paid content on your app, so you do not need to build your own server.
Qonversion allows you to create products, identify and associate them with in-app products from the Google Play Console. Then you can create permissions that provide access to the premium features in your app.
To make a purchase call the Qonversion.purchase() method as shown below. Upon successful purchase, you will receive a response in the onSuccess callback with permissions. Otherwise, onError with the detailed error description.
Qonversion.purchase(
   this,
   productId,
   object : QonversionPermissionsCallback {
       override fun onSuccess(permissions: Map<String, QPermission>) {
           // Grant user entitlements to the app content
       }

       override fun onError(error: QonversionError) {
	       // Handle the error
Whenever you want to get the last subscription status and manage user access to the premium content call the Qonversion.checkPermissions() method.
Qonversion.checkPermissions(object : QonversionPermissionsCallback {
   override fun onSuccess(permissions: Map<String, QPermission>) {
         // Grant entitlement to the user
   }

   override fun onError(error: QonversionError) {
         // Handle the error
Read more about Qonversion features here.
Start Now for Free
Or book a demo with our team to learn more about Qonversion
Start Now for Free
Or book a demo with our team to learn more about Qonversion
Start Now for Free
Or book a demo with our team to learn more about Qonversion
Read more
Read more
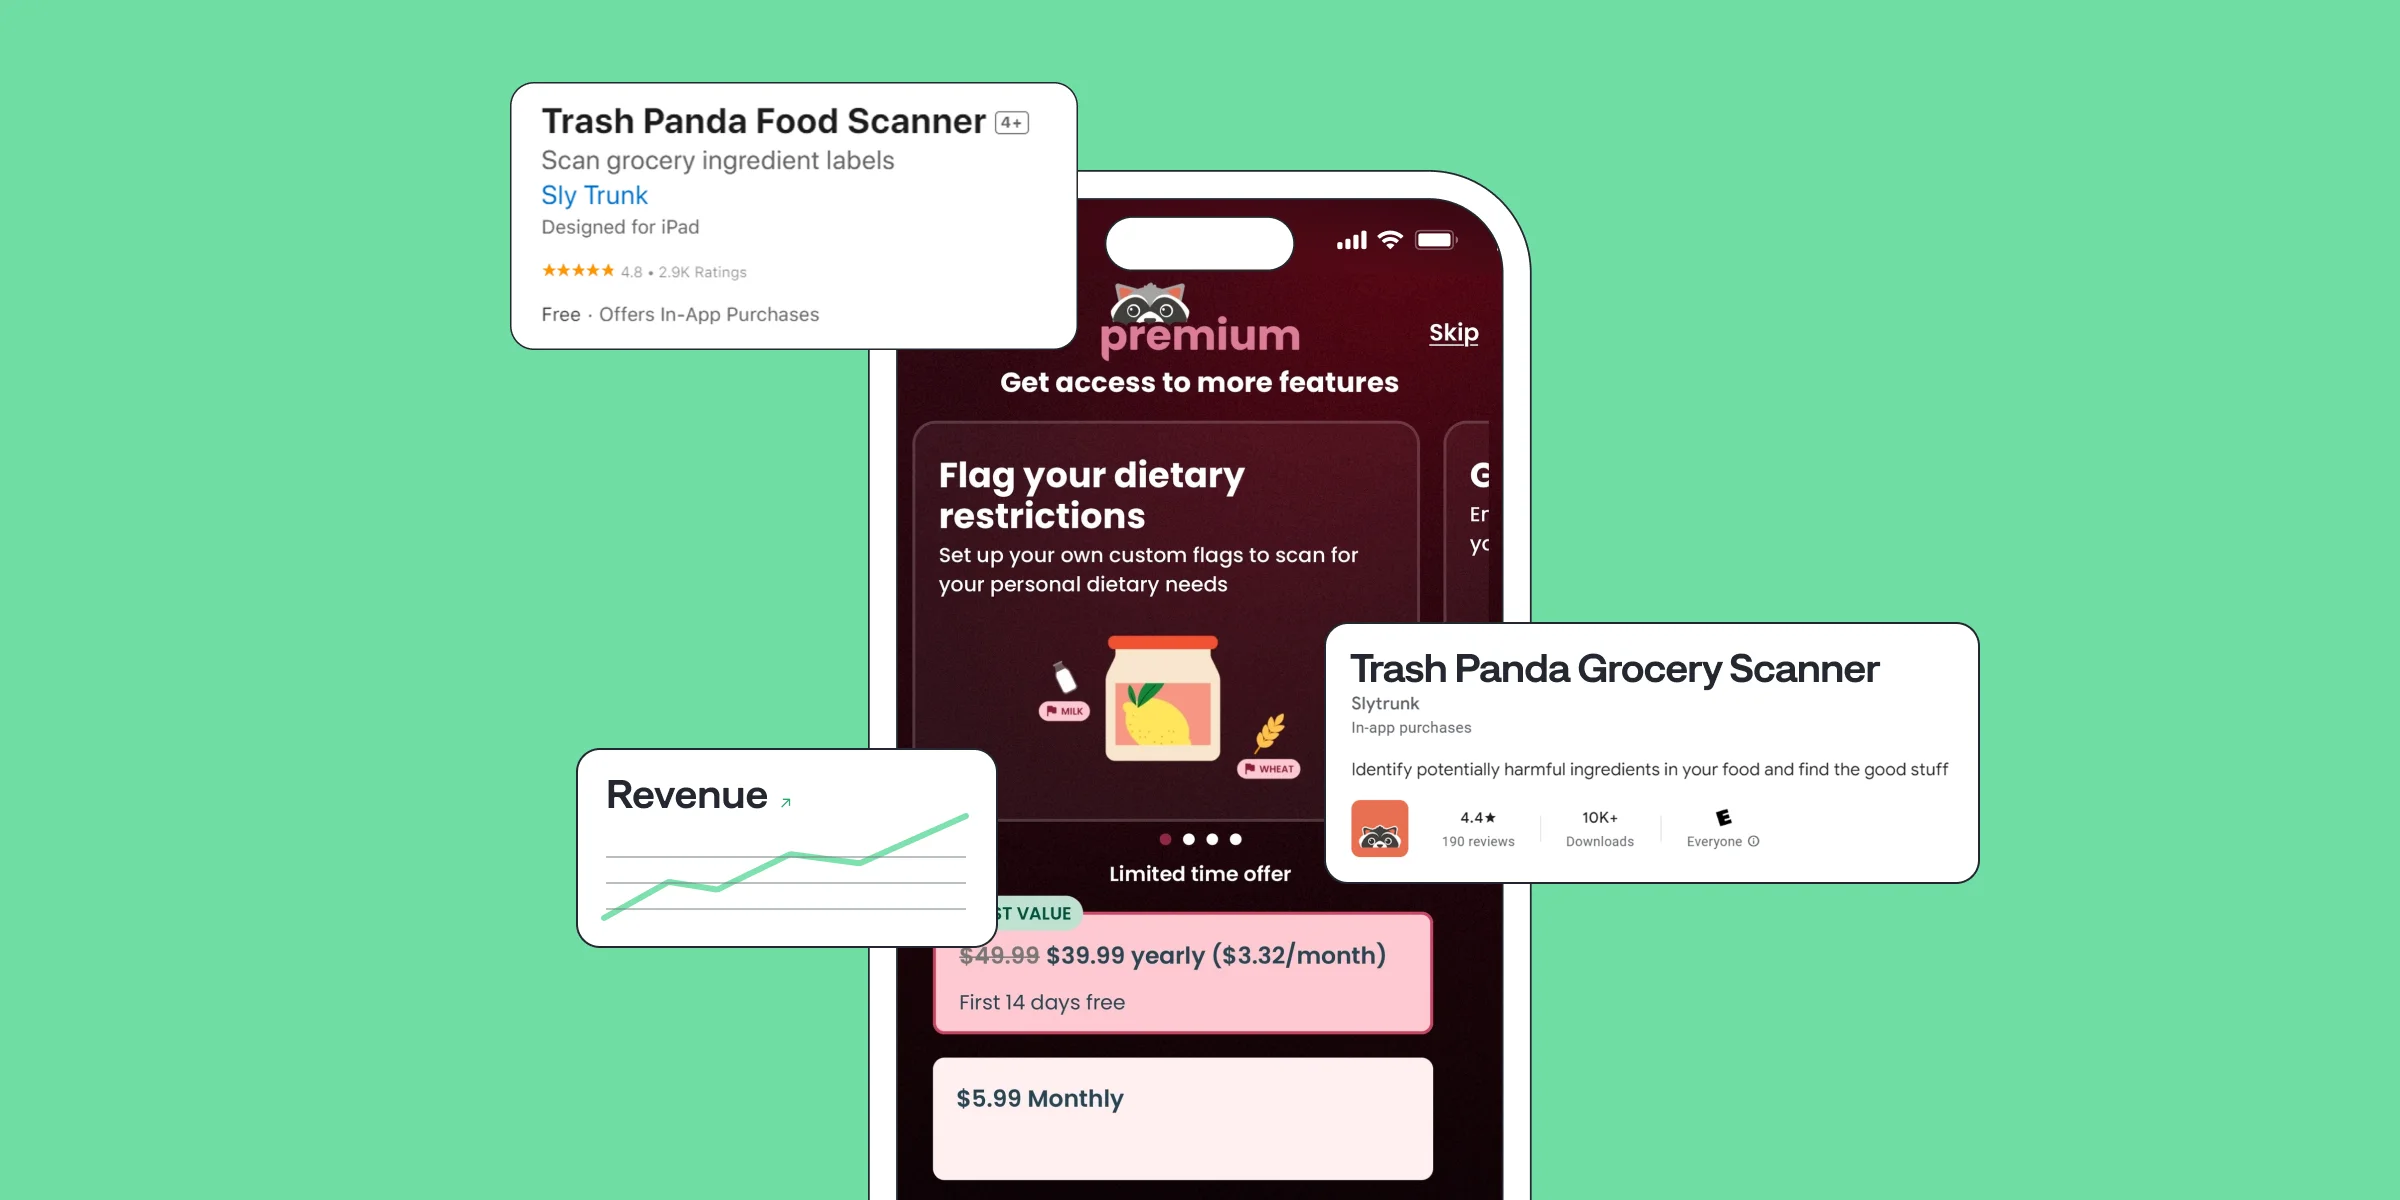
Trash Panda Maximizes App Revenue after Setting the Best Subscription Price with A/B Tests
Jul 8, 2024
Jul 8, 2024

How StyleDNA Saved 20% Development Time and Unlocked New Features
Jun 19, 2024
Jun 19, 2024
WWDC24 Updates for App Developers | What's new in Storekit 2 and App Store Server API?
Jun 17, 2024
Jun 17, 2024
How A/B Testing with Qonversion Helped Iben Sandahl’s Parenting App Double Their Sales
Jun 13, 2024
Jun 13, 2024
Trash Panda Maximizes App Revenue after Setting the Best Subscription Price with A/B Tests
Jul 8, 2024
Jul 8, 2024
How StyleDNA Saved 20% Development Time and Unlocked New Features
Jun 19, 2024
Jun 19, 2024
WWDC24 Updates for App Developers | What's new in Storekit 2 and App Store Server API?
Jun 17, 2024
Jun 17, 2024