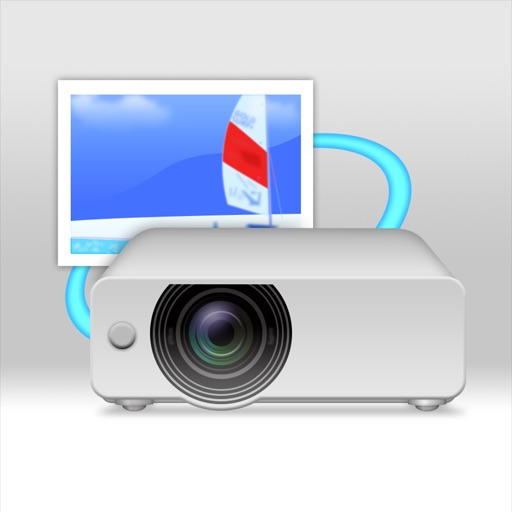
Open this app on your iPhone®, iPad®, or iPod® touch and select [Home] as the projector type to automatically connect to the projector. 3. Follow the on-screen instructions to select [Wall] or [Ultra Short Throw Screen] depending on your environment. 4. Follow the on-screen instructions to take a photo of the projected pattern using the camera in the app, and the corrections will be completed automatically. If you are not happy with the results of the corrections made by this app, you can also adjust manually using the remote control. [For Business Projector (EB Series) Users: Using the App] Make sure the [Wireless LAN Power] setting is set to [On] in the projector‘s [Management] menu. 1. Press the [Menu] button on the projector's remote control, and then select [Installation] > [Connect to Setting Assistant] from the menu displayed to project a QR code. 2. Open this app on your iPhone®, iPad®, or iPod® touch, select [Business] as the projector's type, and then scan the QR code to automatically connect to the projector. 3. Follow the on-screen instructions to select [Wall] or [Ultra Short Throw Screen] depending on your environment. 4. Follow the on-screen instructions to take a photo of the projected pattern using the camera in the app, and the corrections will be completed automatically. If you are not happy with the results of the corrections made by this app, you can also adjust manually using the remote control. [Supported Projectors] Ultra short throw Epson projectors that support this app Check the Epson website for more information. Images used here are for illustrative purposes only. The actual images may differ.

Epson Setting Assistant
View in App StoreEpson Setting Assistant
4.5
Age Rating
4+
Seller
Seiko Epson CorporationGrow your in-app revenue
while we take care of your subscription management.
Mobile
SDK by Qonversion.
Price Intelligence based on:
213,517
apps aggregated
8,172,290
in-app prices defined
89
main categories
In-App Purchase Price (Subscription or Non-Recurring)
vs. average for the Productivity category, $, by region
Build, analyze, and grow in-app subscriptions
with the most powerful mobile SDK for subscriptions
Description
Epson Setting Assistant is an app that automatically corrects the shape of a projected image by taking pictures with your camera. By taking a photo of the projected pattern, the app automatically corrects distortion in the projected image and adjusts its shape to match the screen. [Main Features] 1) Wall correction By taking a photo of the pattern projected onto a wall, the app detects unevenness in the surface of the wall and corrects distortion in the projected image. 2) Screen correction for ultra short throw projection By taking a photo of the pattern projected onto an ultra short throw screen, the app matches the shape of the image to the frame of the screen. [For Home Projector (EH Series) Users: Using the App] Make sure your iPhone®, iPad®, or iPod® touch and the projector are connected to the same network. 1. Press the [Projector Settings] button on the projector's remote control, and then select [Installation] from the menu displayed. 2.
More By This Developer


You May Also Like


POWER SUBSCRIPTION REVENUE GROWTH