Products, Offerings, Permissions in iOS Subscriptions: Meaning and Set-Up Guide

Kate
Mar 10, 2022
In the previous article, we explored how to add auto-renewable subscriptions in App Store Connect. If you’d like to proceed with the Qonversion SDK to implement your in-app subscriptions, creation of Products, Offerings, and Permissions on the Qonversion side will be your next step. In this article, we will dive into what they are, what they are for, and how to set them up.
We’ll cover the following:
How to create your first project at Qonversion
How to create Products
How to add Offerings
How to create Permissions

Getting Started
Signing Up
Go to https://qonversion.io/ and sign up for free if you haven’t already.


Fill out the following details:
First and last name
Company name
Email
Password
If you want, you can sign up using Google or GitHub.
Finally, checkmark “I have read and agree to the Terms of Service and Privacy Policy” and click on Sign up.
After signing up, it’s time to create your first project.
Creating First Project
You can give your project a similar name to your app or a name you want to associate with your project. Then, click Next:


The second step is to configure the stores. You have the option to configure on:
Apple App Store
Google Play Console
Toggle the Apple App Store and add the following details:
App-Specific Shared Secret – the key to receiving receipts for auto-renewable in-app subscriptions. See the details on how to find the shared secret under documentation.
App Store ID – the App Store ID in your app’s URL. For example, in the URL https://itunes.apple.com/us/app/yourapp/id123456789, 123456789 is the App Store ID.
The following are required for push notifications:
App Store Bundle ID – App’s Unique Identifier for all Apple services. Example: com.apple.calculator.
App Store push key – Token signing key in p8 format required for sending Push notifications
Push-Key ID – 10-character Key ID is usually part of the key file name: AuthKey.ABC123DEFG.p8.
Team ID – 10-character Team ID. Example: DEF123GHIJ.
Click Continue. You are then redirected to a dashboard that shows real-time analytics.


It shows daily and hourly new users, conversion to trial, and more extensive stats.
From the sidebar, select Product Center under the Tools section. From there, you can create products, permissions, and offerings.
Creating Products
The product is a cross-platform in-app purchase representing Apple and Google Products in Qonversion. Every product has its duration and type. You can think of it as similar to what you have on App Store Connect.
We categorize the product type into:
Trial: an auto-renewable subscription with a free trial
Direct Subscription: an auto-renewable subscription without a trial
In-App Purchase: a product that users can purchase with a single, non-recurring payment
The Trial and Direct Subscription products can have the following durations:
1 week
1 month
3 months
6 months
Annual
Lifetime
Let’s imaging the Sample app is analytical tool and offers users to track the conversions they made from their apps. For more extensive data and graphs for visualization, they can subscribe to Sample+. It is a subscription model with monthly, half-yearly, and yearly plans. We created the subscription group on App Store Connect in the previous article.
We’ll see a similar Direct Subscription product as we created on App Store Connect.
In the Product Center section, tap the Create button and select Product. Fill in the following product details:
Qonversion Product ID
Create a unique product ID in Qonversion corresponding to a unique product on the App Store Connect. The iOS SDK will use this to make purchases. For example, for the yearly plan, you create yearly to correspond to the 1-year subscription on App Store Connect.
App Store Product Identifier
The product identifier that was created on App Store Connect. In our case, it is sample_yearly.
Associated Permissions
You can choose the permissions that’ll be unlocked after this product is purchased. In the sample app, it is the premium access to Sample+. We’ll create this permission in a later section.


Creating all the products for the respective ones on App Store Connect:


Creating Offerings
You can create an offering on Qonversion, a group of products you can offer to a user. You can then display them on a given paywall based on the respective logic and even change the products offered remotely without releasing app updates.
For example, in the Sample app, let’s offer the users quarterly and half-yearly subscriptions on a paywall immediately after onboarding. Also, the monthly subscription will have a week of free trial to increase the chances of users choosing it.


If the user has not converted, you can offer the yearly subscription with a month of free trial.
Qonversion’s Infrastructure Mode helps you to take advantage of the following:
Running A/B tests
For experimenting and finding the best combination of subscriptions to offer to your users, you can take advantage of A/B testing. This offering by Qonversion helps you understand your users better based on the metrics and help you make better decisions regarding the subscriptions.
Dividing the Offerings created for Sample into two parts for onboarding:
Group A:
Monthly with one week trial
Half-yearly
Yearly
Group B:
Monthly
Half-yearly
Yearly with one month trial
Learn more about creating A/B testing here.
Change products offered to your users without app release
With the flexibility of remotely changing the products, you can replace the yearly subscription with the yearly one with the month trial on the onboarding and replace the monthly one on the next page with the monthly with weekly trial.
You can store products and experiment results in one place with aggregated data on them.
In the Product Center section, tap the Create button and select Offering:
Fill in the offering details:
Identifier
It is the unique ID that will be used by Qonversion SDK to get the associated offering.
In the Sample app, there is onboarding for the initial set of products to show immediately after the onboarding finishes, mainly to win users who haven’t converted yet.
Description
You can add a short custom description field to describe the offering. For example, “Initial set of products to show immediately after the onboarding finishes.”
Then, attach the products to your offering. For example, we’ll add monthly with the weekly trial, and half-yearly and yearly products created earlier to onboarding.
The order of the products is used by the iOS SDK when displaying the products.


Creating both the onboarding and the main offering. Do note how we’ve set the onboarding offering as the main one:


With offerings created similar to what you have on App Store Connect, let’s move on to creating permissions.
Creating Permissions
Permission helps your users access some premium features of your app. For example, access to the catalog of Apple TV+ or Twitter Blue – its subscription offering.
In the Sample app, we want to permit users to access Sample+. It contains three different durations of the same subscription. Usually, you’ll find that most applications have only one permission that provides premium access.
To create permission, select Permission in the Product Center section after tapping the Create button.
The permission requires you to fill in the following details:
Identifier
It is the unique offer ID used by the iOS SDK to check if a user has premium access. In our case, it is sample+.
Description
You add a short custom description field. For example – Access to extensive graphs and data.
Products
Add the list of products that activate the permission. For Sample+, we’ll add yearly, half_yearly, and monthly.


With everything set up on Qonversion’s site, you’re ready to use your In-App Subscriptions in the app.
Conclusion
We hope this guide helps you seamlessly create In-App subscriptions on Qonversion’s website. The next article will focus on accessing the IAP you created using the Qonversion iOS SDK, so stay tuned!
Qonversion provides a complete infrastructure for in-app purchases and allows you to create and restore purchases, validate receipts, and provide your app with an accurate subscription status without the need to build your server. It takes a few hours to a few days to implement SDKs, also, it is free until the $10k MTR.
Qonversion is also a powerful tool for testing and engagement of your users. You can send the data of all your subscription events into 3rd party services like Appsflyer, Adjust, Amplitude, and others. A/B testing helps you find the right price for your app—compare different price options or offerings, and find the best bundles that bring you the highest revenue. With automation tools, you can send personalized push notifications triggered by user’s events — you can suggest a trial, discount, or ask why the person wants to leave. This feature is designed to increase your app’s revenue and retention, provide cancellation insights, reduce subscriber churn, and improve your subscribers’ user experience.
If you find this article useful or have any questions, we’d love to hear from you! Join our community on Slack to discuss subscription insights, tips, tricks, and growth tools.
Products, Offerings, Permissions in iOS Subscriptions: Meaning and Set-Up Guide
Kate
Mar 10, 2022
In the previous article, we explored how to add auto-renewable subscriptions in App Store Connect. If you’d like to proceed with the Qonversion SDK to implement your in-app subscriptions, creation of Products, Offerings, and Permissions on the Qonversion side will be your next step. In this article, we will dive into what they are, what they are for, and how to set them up.
We’ll cover the following:
How to create your first project at Qonversion
How to create Products
How to add Offerings
How to create Permissions
Getting Started
Signing Up
Go to https://qonversion.io/ and sign up for free if you haven’t already.
Fill out the following details:
First and last name
Company name
Email
Password
If you want, you can sign up using Google or GitHub.
Finally, checkmark “I have read and agree to the Terms of Service and Privacy Policy” and click on Sign up.
After signing up, it’s time to create your first project.
Creating First Project
You can give your project a similar name to your app or a name you want to associate with your project. Then, click Next:
The second step is to configure the stores. You have the option to configure on:
Apple App Store
Google Play Console
Toggle the Apple App Store and add the following details:
App-Specific Shared Secret – the key to receiving receipts for auto-renewable in-app subscriptions. See the details on how to find the shared secret under documentation.
App Store ID – the App Store ID in your app’s URL. For example, in the URL https://itunes.apple.com/us/app/yourapp/id123456789, 123456789 is the App Store ID.
The following are required for push notifications:
App Store Bundle ID – App’s Unique Identifier for all Apple services. Example: com.apple.calculator.
App Store push key – Token signing key in p8 format required for sending Push notifications
Push-Key ID – 10-character Key ID is usually part of the key file name: AuthKey.ABC123DEFG.p8.
Team ID – 10-character Team ID. Example: DEF123GHIJ.
Click Continue. You are then redirected to a dashboard that shows real-time analytics.
It shows daily and hourly new users, conversion to trial, and more extensive stats.
From the sidebar, select Product Center under the Tools section. From there, you can create products, permissions, and offerings.
Creating Products
The product is a cross-platform in-app purchase representing Apple and Google Products in Qonversion. Every product has its duration and type. You can think of it as similar to what you have on App Store Connect.
We categorize the product type into:
Trial: an auto-renewable subscription with a free trial
Direct Subscription: an auto-renewable subscription without a trial
In-App Purchase: a product that users can purchase with a single, non-recurring payment
The Trial and Direct Subscription products can have the following durations:
1 week
1 month
3 months
6 months
Annual
Lifetime
Let’s imaging the Sample app is analytical tool and offers users to track the conversions they made from their apps. For more extensive data and graphs for visualization, they can subscribe to Sample+. It is a subscription model with monthly, half-yearly, and yearly plans. We created the subscription group on App Store Connect in the previous article.
We’ll see a similar Direct Subscription product as we created on App Store Connect.
In the Product Center section, tap the Create button and select Product. Fill in the following product details:
Qonversion Product ID
Create a unique product ID in Qonversion corresponding to a unique product on the App Store Connect. The iOS SDK will use this to make purchases. For example, for the yearly plan, you create yearly to correspond to the 1-year subscription on App Store Connect.
App Store Product Identifier
The product identifier that was created on App Store Connect. In our case, it is sample_yearly.
Associated Permissions
You can choose the permissions that’ll be unlocked after this product is purchased. In the sample app, it is the premium access to Sample+. We’ll create this permission in a later section.
Creating all the products for the respective ones on App Store Connect:
Creating Offerings
You can create an offering on Qonversion, a group of products you can offer to a user. You can then display them on a given paywall based on the respective logic and even change the products offered remotely without releasing app updates.
For example, in the Sample app, let’s offer the users quarterly and half-yearly subscriptions on a paywall immediately after onboarding. Also, the monthly subscription will have a week of free trial to increase the chances of users choosing it.
If the user has not converted, you can offer the yearly subscription with a month of free trial.
Qonversion’s Infrastructure Mode helps you to take advantage of the following:
Running A/B tests
For experimenting and finding the best combination of subscriptions to offer to your users, you can take advantage of A/B testing. This offering by Qonversion helps you understand your users better based on the metrics and help you make better decisions regarding the subscriptions.
Dividing the Offerings created for Sample into two parts for onboarding:
Group A:
Monthly with one week trial
Half-yearly
Yearly
Group B:
Monthly
Half-yearly
Yearly with one month trial
Learn more about creating A/B testing here.
Change products offered to your users without app release
With the flexibility of remotely changing the products, you can replace the yearly subscription with the yearly one with the month trial on the onboarding and replace the monthly one on the next page with the monthly with weekly trial.
You can store products and experiment results in one place with aggregated data on them.
In the Product Center section, tap the Create button and select Offering:
Fill in the offering details:
Identifier
It is the unique ID that will be used by Qonversion SDK to get the associated offering.
In the Sample app, there is onboarding for the initial set of products to show immediately after the onboarding finishes, mainly to win users who haven’t converted yet.
Description
You can add a short custom description field to describe the offering. For example, “Initial set of products to show immediately after the onboarding finishes.”
Then, attach the products to your offering. For example, we’ll add monthly with the weekly trial, and half-yearly and yearly products created earlier to onboarding.
The order of the products is used by the iOS SDK when displaying the products.
Creating both the onboarding and the main offering. Do note how we’ve set the onboarding offering as the main one:
With offerings created similar to what you have on App Store Connect, let’s move on to creating permissions.
Creating Permissions
Permission helps your users access some premium features of your app. For example, access to the catalog of Apple TV+ or Twitter Blue – its subscription offering.
In the Sample app, we want to permit users to access Sample+. It contains three different durations of the same subscription. Usually, you’ll find that most applications have only one permission that provides premium access.
To create permission, select Permission in the Product Center section after tapping the Create button.
The permission requires you to fill in the following details:
Identifier
It is the unique offer ID used by the iOS SDK to check if a user has premium access. In our case, it is sample+.
Description
You add a short custom description field. For example – Access to extensive graphs and data.
Products
Add the list of products that activate the permission. For Sample+, we’ll add yearly, half_yearly, and monthly.
With everything set up on Qonversion’s site, you’re ready to use your In-App Subscriptions in the app.
Conclusion
We hope this guide helps you seamlessly create In-App subscriptions on Qonversion’s website. The next article will focus on accessing the IAP you created using the Qonversion iOS SDK, so stay tuned!
Qonversion provides a complete infrastructure for in-app purchases and allows you to create and restore purchases, validate receipts, and provide your app with an accurate subscription status without the need to build your server. It takes a few hours to a few days to implement SDKs, also, it is free until the $10k MTR.
Qonversion is also a powerful tool for testing and engagement of your users. You can send the data of all your subscription events into 3rd party services like Appsflyer, Adjust, Amplitude, and others. A/B testing helps you find the right price for your app—compare different price options or offerings, and find the best bundles that bring you the highest revenue. With automation tools, you can send personalized push notifications triggered by user’s events — you can suggest a trial, discount, or ask why the person wants to leave. This feature is designed to increase your app’s revenue and retention, provide cancellation insights, reduce subscriber churn, and improve your subscribers’ user experience.
If you find this article useful or have any questions, we’d love to hear from you! Join our community on Slack to discuss subscription insights, tips, tricks, and growth tools.
Start Now for Free
Or book a demo with our team to learn more about Qonversion
Start Now for Free
Or book a demo with our team to learn more about Qonversion
Start Now for Free
Or book a demo with our team to learn more about Qonversion
Read more
Read more
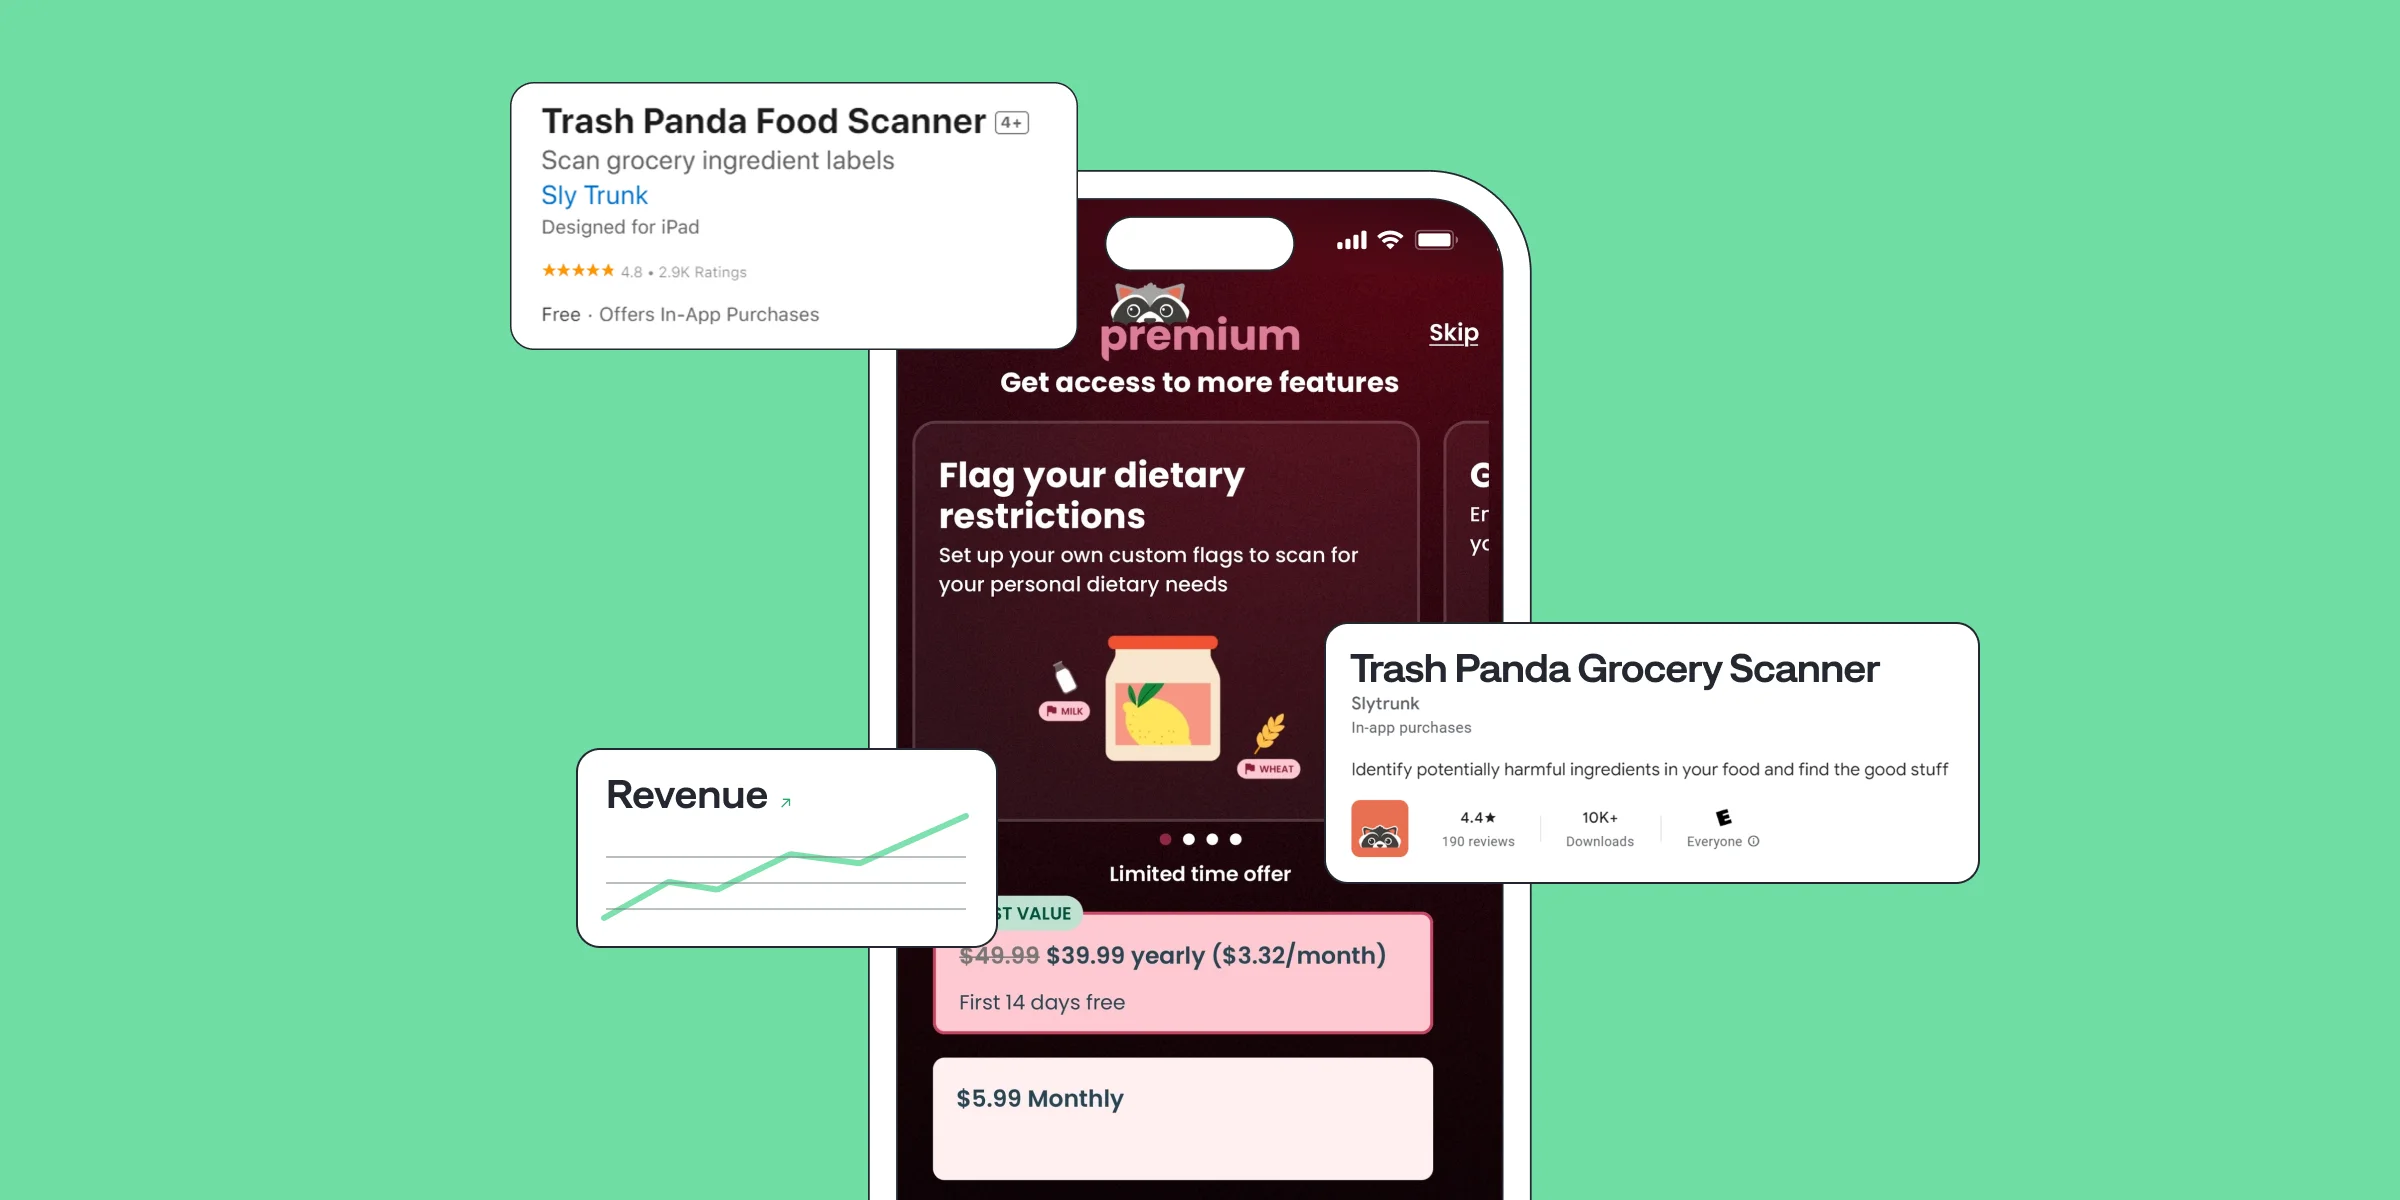
Trash Panda Maximizes App Revenue after Setting the Best Subscription Price with A/B Tests
Jul 8, 2024
Jul 8, 2024

How StyleDNA Saved 20% Development Time and Unlocked New Features
Jun 19, 2024
Jun 19, 2024
WWDC24 Updates for App Developers | What's new in Storekit 2 and App Store Server API?
Jun 17, 2024
Jun 17, 2024
How A/B Testing with Qonversion Helped Iben Sandahl’s Parenting App Double Their Sales
Jun 13, 2024
Jun 13, 2024
Trash Panda Maximizes App Revenue after Setting the Best Subscription Price with A/B Tests
Jul 8, 2024
Jul 8, 2024
How StyleDNA Saved 20% Development Time and Unlocked New Features
Jun 19, 2024
Jun 19, 2024
WWDC24 Updates for App Developers | What's new in Storekit 2 and App Store Server API?
Jun 17, 2024
Jun 17, 2024