How to Configure Subscriptions on the Web with Stripe and Grant Users Access on iOS and Android

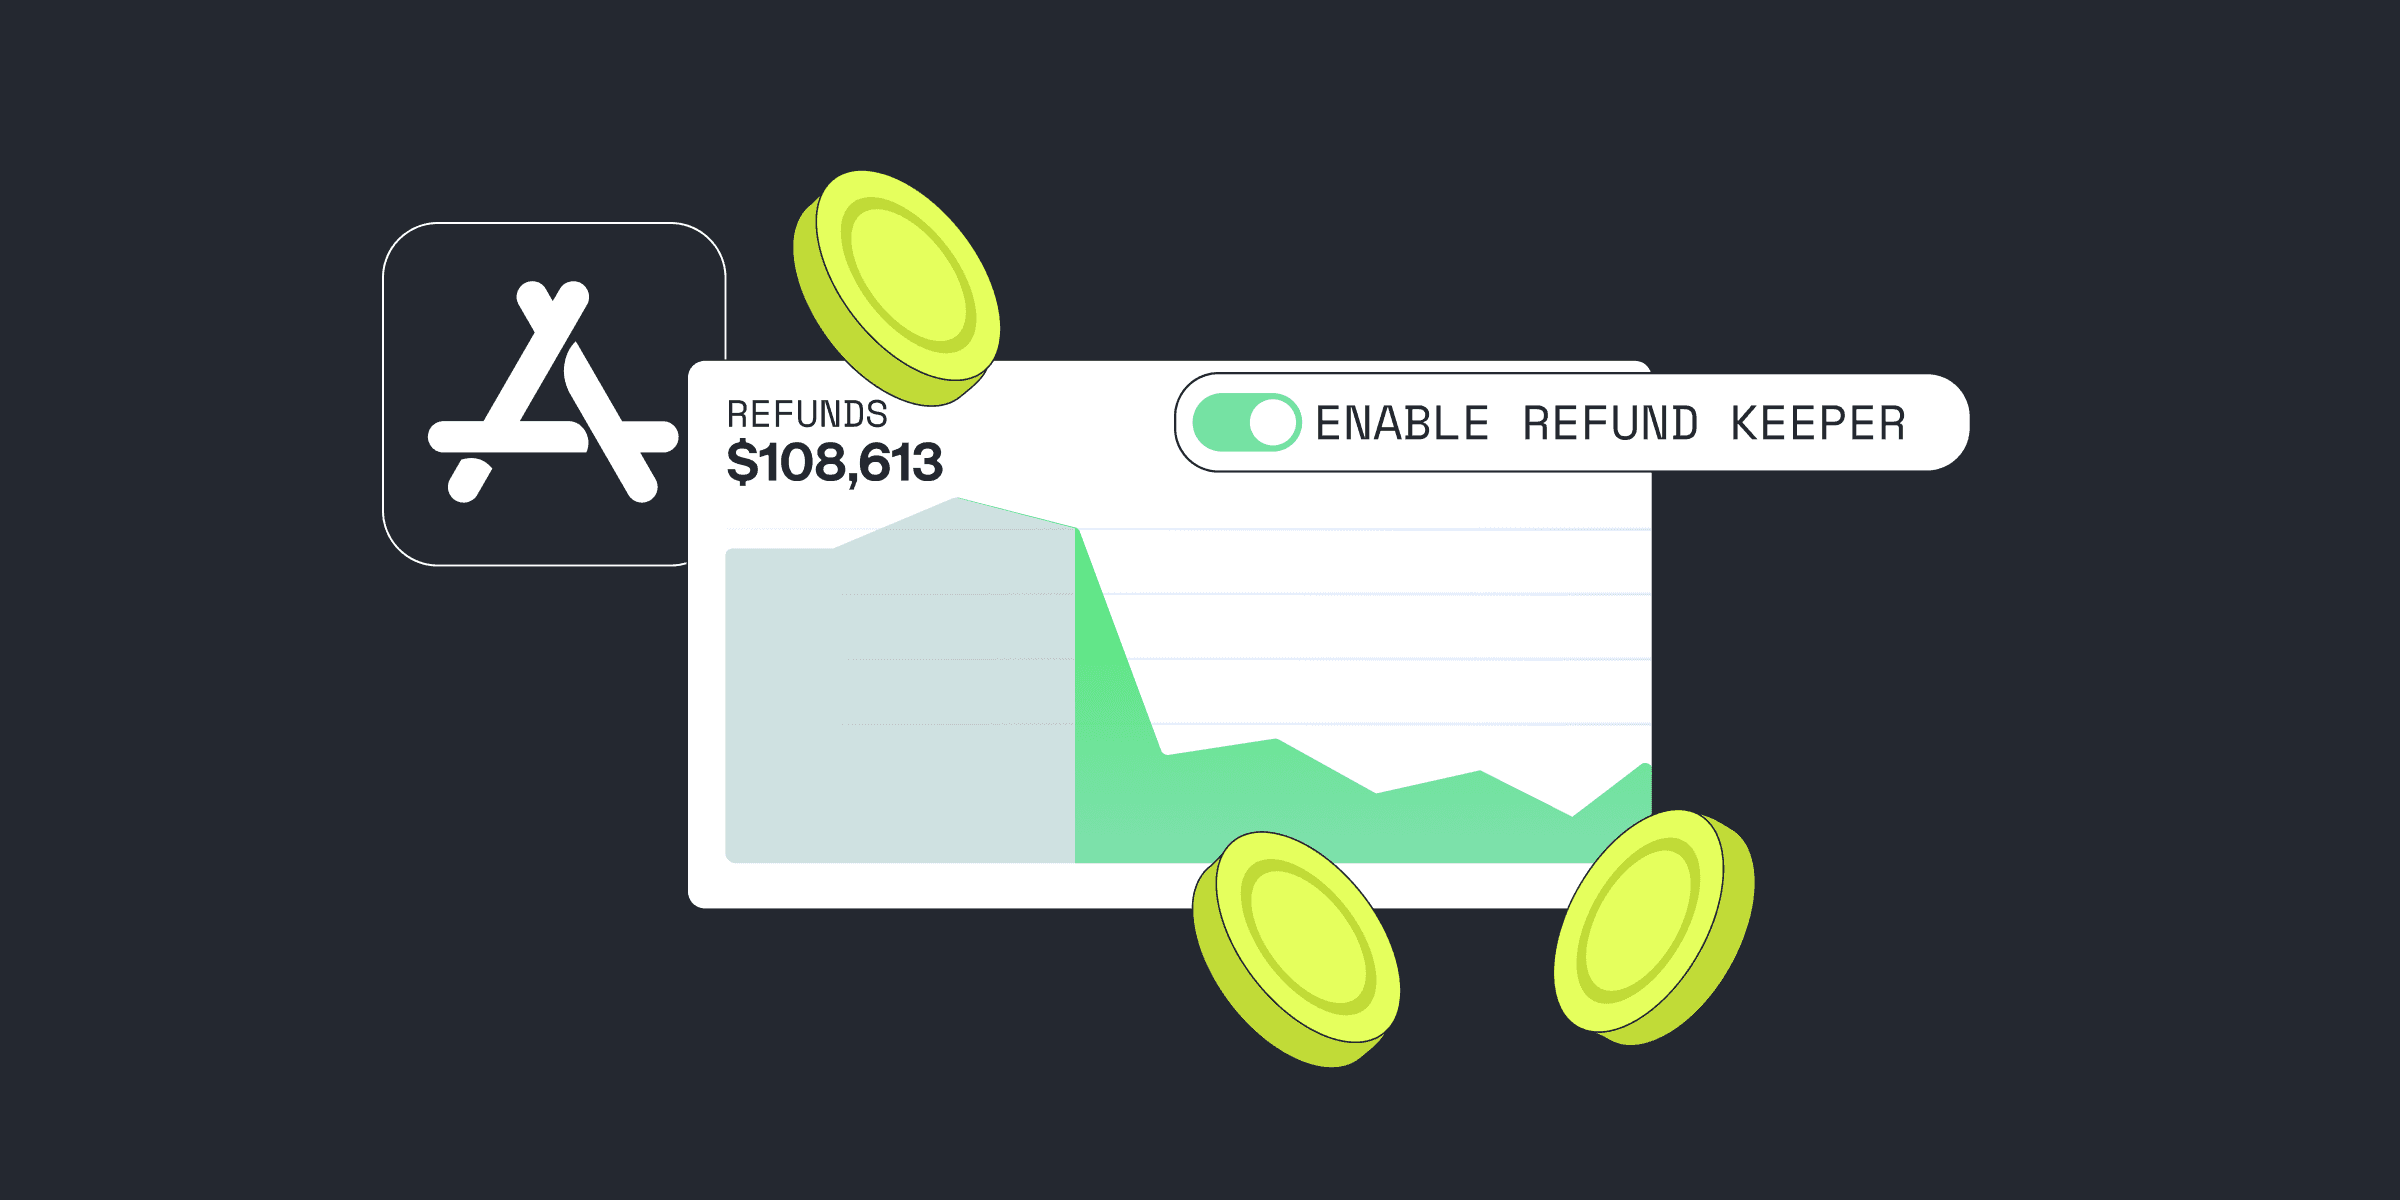
Implementing renewable subscriptions is a daunting task, especially if you haven’t dealt with a third-party payment processors’ APIs like StoreKit, Google Billing Library, Stripe before. And it becomes much harder when you need to support several platforms simultaneously. You’ll find that managing cross-platform subscriptions is challenging as you need to solve technical integration complexity, consider different platforms’ policies and requirements, find the right approach to manage subscription statuses (cancellations, upgrades, downgrades, etc.), and analytics.

At the same time, cross-platform subscription management provides your users with the best user experience on any device anywhere, and allows you to reduce platform fees (15-30% for app stores and 2-3% for Stripe — just feel the difference).

In our previous article, we covered granting access on the web after a purchase was made on iOS and Android platforms. Now let’s dig deeper into the web part and explore how to configure Stripe payments and grant your users premium access on iOS and Android apps.

Connecting Stripe to Qonversion 

The first step is to connect Qonversion to your Stripe account. Navigate to your Qonversion project settings. Select Stripe and switch on the Stripe toggle.

This will bring you to the Stripe sign in page. Click Connect if you have an existing Stripe account or create a new one if required. If your Stripe account isn’t activated yet, you need to activate it (add business details, banking information etc).

Setup Stripe Product and Permission

Let’s assume you have already had the Qonversion Product that contains Apple and Google product stores identifiers. If you want to sell a similar product with Stripe, update the existing product in Qonversion with the Stripe product ID.

The Stripe product ID can be found in the Products tab in Stripe Dashboard. Just select the product and copy its ID shown at the top right corner of the page.

Make sure that your Qonversion product is associated with Permission that indicates premium status of a user.

If you want to sell subscriptions only on the web, you can just leave empty the Apple Store and Google Play Product ID fields in the Qonversion product details.

Sending Stripe Purchase Data to Qonversion

You can directly call API methods or use our Web SDK in your web app to send Stripe subscriptions data to Qonversion. Choose the method that is most suitable for you. If you have never worked with API endpoints before, our recommendation is to use Qonversion Web SDK to send Stripe purchases data.

1. API methods

Qonversion provides a high-performance REST API that allows you to create and identify users, send purchases data, get user entitlements, and more. This section of the article covers the methods you should use in order to get cross-platform access based on Stripe purchases.

1.1 Create User

Before you start sending Stripe purchase data, you need to create a user. A user is a cross-platform entity with User object with the following endpoint:

POST https://api.qonversion.io/v3/users/:user_id

User_id is the Qonversion User ID that will be registered for this user. Let’s use the following identifier aa47b6fa as the user_id in this example. 

1.2 Identify the User

User Identity allows cross-platform user identification and access management. Identity manages user access based on payments across different platforms. You can find more info about Identity in our documentation.

Identify the user with the Identity method:

POST https://api.qonversion.io/v3/identities/:identity_id

For identity_id always use unique ID values. Otherwise, a user can get matched to another user’s premium status. You can use the user ID from your internal system as identity_id. In our example, we will use stripe_aa47b6fa as the identity_id.

1.3 Send Purchases

Here we get to the most interesting part. Now everything is ready for sending user purchases data to Qonversion. Use the purchases endpoint for this:

POST https://api.qonversion.io/v3/users/:user_id/purchases 

Below is the example with the parameters you should forward with the method body:

{
"currency": "USD",
"price": "100",
"purchased": 1659428809,
"stripe_store_data": {
   "subscription_id": "sub_1LSGVgL9K6ILzohYq5GCbktn",
   "product_id": "prod_MAbVQQaljmF6gm"
 }
}

In order to grant users with valid permissions, product_id must be the same as Stripe Product Identifier that you provided in the previous step to the Qonversion Product annual. Subscription_id is an identifier for a Stripe Subscription object. Description of the rest parameters can be found in our guide on sending Stripe purchases data to Qonversion.

If the purchase was created successfully, the response will be the following:

{
   "currency": "USD",
   "price": "100",
   "purchased": 1659008000,
   "stripe_store_data": {
       "product_id": "prod_MAbVQQaljmF6gm",
       "subscription_id": "sub_1LSGVgL9K6ILzohYq5GCbktn"
   },
   "user_id": "aa47b6fa"
}

You can now check the Customers tab in your Qonversion account looking for your customer. Search is available with Qonversion user_id(aa47b6fa) or identity_id(stripe_aa47b6fa):

And here are the details on customer level that you can quickly see in Qonversion dashboard including price and date of the purchased product:

Once you successfully send the purchase, Qonversion infrastructure handles all subscription changes like renewal, trial conversion, refund etc. This affects user permissions and is reflected in our analytics dashboards

1.4 Get Entitlements

At this point, you should be able to receive the active permission that was configured in the previous step (Setup Stripe Product and Permission). In our example, this is a permission with a premium ID. Call the following method to check entitlements:

GET https://api.qonversion.io/v3/users/:user_id/entitlements

Below you can see the example with entitlement response:

{
   "data": [
       {
           "active": true,
           "expires": 1690965033,
           "id": "premium",
           "product": {
               "product_id": "annual",
               "subscription": {
                   "current_period_type": "normal",
                   "renew_state": "will_renew"
               }
           },
           "started": 1659429033
       }
   ]
}

2. Web SDK

Web SDK is a TypeScript browser-client SDK that interacts with Qonversion API under the hood. With Qonversion’s Web SDK, you can easily identify users, send purchases, customize user properties, check an entitlement state, but it is still required to receive an entitlement state on the backend side. You can find SDK to be a more flexible and convenient way to share data to Qonversion from your web app.

2.1 Launch Qonversion Web SDK

You can find detailed information on how to launch the SDK in the documentation here. You need to call the Qonversion.initialize method and pass QonversionConfigBuilder as a parameter:

const qonversionInstance = Qonversion.initialize(config);

2.2 Identify the user with Qonversion Web SDK

User Identity allows cross-platform user identification and access management. Identity manages user access based on payments across different platforms. You can find more information about Identity in our documentation here.

Identify the user with the identify method:

await qonversionInstance.identify('identity_id');

Always use unique ID values for identity_id. Otherwise, a user can get matched to another user’s premium status. You can use your internal user ID from your system as identity_id. In this example, we will use stripe_aa47b6fa as the identity_id.

2.3 Send purchase

Collect stripe purchase data and call the sendStripePurchase method:

сonst stripePurchaseData: PurchaseCoreData & StripeStoreData = {
  currency: 'USD',
  price: '100',
  productId: 'prod_MAbVQQaljmF6gm',
  purchased: 1659008486,
  subscriptionId: 'sub_1LSGVgL9K6ILzohYq5GCbktn'
};

const purchase = await qonversionInstance.sendStripePurchase(stripePurchaseData);

In order to grant users with valid permissions, product_id must be the same as Stripe Product Identifier from the Qonversion Product annual (see the previous step Setup Stripe Product and Permission). Subscription_id is an identifier for a Stripe Subscription object. Description of the rest parameters can be found in our guide Send Stripe purchases to Qonversion.

If the purchase is created successfully, the response is the following:

{
  currency: 'USD',
  price: '100',
  purchased: 1659008486,
  stripeStoreData: {
    subscriptionId: 'sub_1LSGVgL9K6ILzohYq5GCbktn',
    productId: 'prod_MAbVQQaljmF6gm'
  }
}

You can check the Customers tab in your Qonversion account to see the details of this user. You can use identity_id(stripe_aa47b6fa) to find the customer:  

You can see the details on user level including a purchased product price and the date of the purchase:

Once you successfully send the purchase, Qonversion infrastructure handles all subscription states like renewal, trial conversion, refunds etc. It affects user permissions and shows up in analytics as well. 

2.4 Get entitlements

At this point, you should get the active permission that was configured in the previous step (Setup Stripe Product and Permission). In our example, this is a permission with a premium ID. Call the getEntitlements method:

const entitlements = await qonversionInstance.getEntitlements();

Get Subscription Status and Unlock Premium Access on Mobile Apps

The last step is to get a subscription status on an iOS or Android mobile app to handle user access. Launch the app and call the identify method:

iOS

Qonversion.identify("identity_id")

Android

Qonversion.identify("identity_id")

Identity ID must be the same you used when identifying the User on the web.

Then call the checkPermissions method:

iOS

Qonversion.checkPermissions { (permissions, error) in
  if let error = error {
    // handle error
    return
  }
  if let premium: Qonversion.Permission = permissions["premium"], premium.isActive {
	// handle the permission
  }
}

Android

Qonversion.checkPermissions(object: QonversionPermissionsCallback {
    override fun onSuccess(permissions: Map<String, QPermission>) {
        val premiumPermission = permissions["premium"]
        if (premiumPermission != null && premiumPermission.isActive()) {
		// handle the permission
        }
    }
    override fun onError(error: QonversionError) {
        // handle error here
    }
})

As you can see here, a mobile apps user has the entitlements (access level) based on his stripe subscription.

Android / iOS

Conclusion 

This article demonstrates how to manage users’ access on mobile apps based on their web subscriptions. The implementation is quick and straightforward.

Once you implement cross-platform subscription management, you can easily track the performance of each platform in Qonversion analytics dashboards. Moreover, Qonversion offers a set of tools to leverage your subscription data including integrations, Apple Search Ads attribution, and push notifications.