A visual positioning technology, leveraging computer vision and deep learning to enable hyper-accurate, world-scale and persistent AR. Concretely, it enables: -Hyper accurate positioning from a single RGB camera -Persistence (content stays in space until you delete it) -Visual navigation (like a 3D GPS to guide you to your destinations) -Contextual information (information is anchored where you decide so) -Live multiplayer games: coming soon! Who needs that? The entire physical world! You can start mapping your office, your apartment or the streets, etc, but of course we’ve designed the platform with end-users and businesses in mind. To name a few, shopping malls, museums, art galleries, exhibitions/events, cinemas, theme parks, MTR/metro stations, airports, hospitals & clinics, supermarkets, campuses, hotels, offices or real-estate and property developers. We would also love to see more game developers, designers and creatives suggest new applications! Step-by-step instructions: 1. Create a free account at stardust.neogoma.com after you’ve downloaded the app 2. Open the app, log in and press “create map”. You can either name the map or we’ll automatically assign a name 3. Place objects while mapping with the +cube button. You can select different objects from the public list or add new ones from the CMS 4. Create a destination and/or a point of interest (also called targets) with the point of interest button 5. When you’re done mapping, wait for taken and sent numbers to match, then press generate 6. Our deep learning model will predict the pose, which might take couple of minutes. Check your mailbox, we will notify when your map is ready. You will also be notified when you can start editing your map from the online editor (accessible from your dashboard). The editor allows anyone to remotely add content, create new navigation destinations, etc 7. Once ready, on the app main page, press relocate/update 8. Click relocate but make sure you’re in a space that has been mapped. You can test the accuracy several times from different locations and see if the content is accurately placed 9. Select a destination and follow the visual path 10. For better accuracy, we suggest to map a place at least 3 times, you can do that by clicking on the update button at the top right side on your screen


Stardust world-scale AR
View in App StoreGrow your in-app revenue
while we take care of your subscription management.
Mobile
SDK by Qonversion.
Price Intelligence based on:
58,276
apps aggregated
8,172,290
in-app prices defined
89
main categories
In-App Purchase Price (Subscription or Non-Recurring)
vs. average for the Developer Tools category, $, by region
Build, analyze, and grow in-app subscriptions
with the most powerful mobile SDK for subscriptions
Description
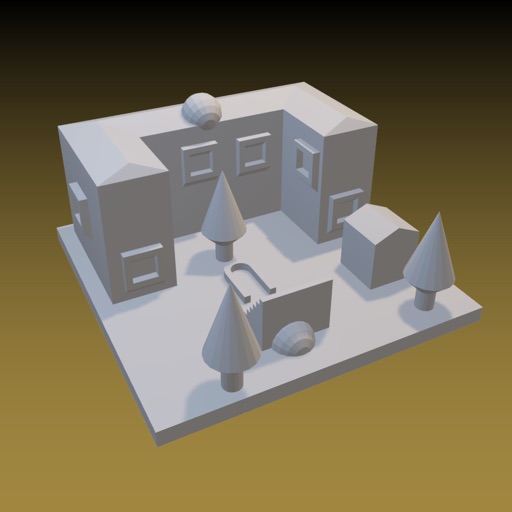
Start augmenting your surroundings with world-scale Augmented Reality and unleash the potential of the digital twin! This complimentary app will help you, developer, designer, operator, marketer or investor to augment your physical world, one map at a time! What is stardust SDK?
More By This Developer

You May Also Like


POWER SUBSCRIPTION REVENUE GROWTH